Learn soldering basics with expert tips on tools, safety, and techniques to master soldering for electronics and DIY projects confidently.
If you’ve ever struggled with wobbly connections or fried components while working on your electronics, you’re not alone. Soldering is the essential skill that turns a frustrating tangle of wires into a reliable, professional-looking circuit. Whether you’re a hobbyist, maker, or just starting your DIY journey, mastering the basics of soldering opens up a whole new world of creative possibilities—and repairs you can tackle yourself. In this guide, we’ll cut through the confusion with clear, step-by-step instructions, safety tips, and tool recommendations to get you soldering like a pro in no time. Ready to stop guessing and start creating? Let’s dive into the art and science of soldering!
Essential Soldering Tools
Getting started with soldering means having the right tools on hand. It’s tempting to grab whatever looks cheapest or easiest, but a solid toolkit makes all the difference. Let’s break down what you really need to make clean, reliable solder joints.
Core Tools Breakdown
- Soldering Iron or StationThe heart of your setup. A good soldering iron with temperature control helps avoid overheating components and cold joints. We recommend stations with adjustable settings around 400°F to 850°F for versatility.
Tip: You don’t have to spend big. Brands like Hakko, Weller, and Vastar offer reliable options suitable for beginners and pros alike. - Solder Wire Types and SpecsSolder wire comes in various alloys and diameters. For electronics, 60/40 tin-lead solder or lead-free versions (like SAC305) are popular. Choose a thin wire (around 0.03 to 0.06 inches) for precision work. Flux core solder speeds up the soldering process by cleaning the metal surfaces as you work.
Recommend: Lead-free solder is safer but sometimes trickier to melt. Choose based on your project and safety preferences. - Accessories for Precision and Safety
- Flux Pen: Helps clean and prep joints, making solder flow smoother.
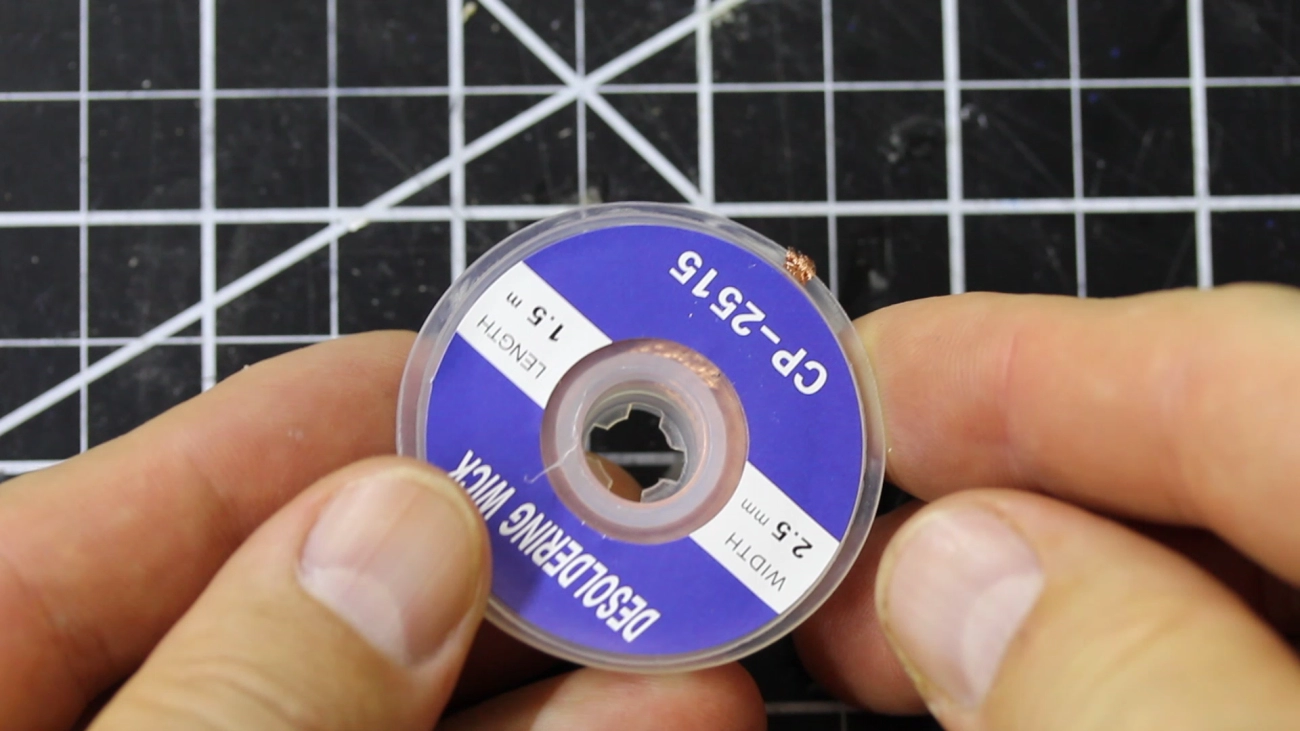
- Desoldering Wick: Essential for fixing mistakes or removing excess solder.
- Tweezers and Helping Hands: Stabilize small components.
- Heat-resistant Mat: Protect your workspace and keep parts organized.
- Safety Gear: Always have eye protection and consider a fume extractor to minimize harmful smoke.
Buyer’s Guide with Pros and Cons
| Tool | Pros | Cons |
|---|---|---|
| Temperature-Controlled Soldering Station | Precise heat, versatile for all projects | Costs more, requires power source |
| Basic Soldering Iron | Affordable, easy for beginners | Fixed temp may cause damage |
| Lead-Free Solder Wire | Safer for health and environment | Higher melting point, tougher to work with |
| Flux Pen | Improves joint quality | Extra expense, needs occasional replacement |
| Desoldering Wick | Fixes mistakes without damage | Can be tricky to use initially |
Local Hardware Store Suggestions
Most local hardware and electronics stores stock these essentials. Chains like Home Depot, Lowe’s, and specialized electronics shops usually carry soldering irons, solder wire, and basic accessories. Supporting local stores means you can get advice, immediate replacements, and hands-on recommendations tailored to your needs.
Ready to solder right? Start with a reliable iron and the right solder wire, and always keep safety accessories close. In the next section, we’ll dive into soldering safety and how to protect yourself while you work.
Soldering Safety
When it comes to soldering, safety should always be your top priority. There are a few key risks to keep in mind:
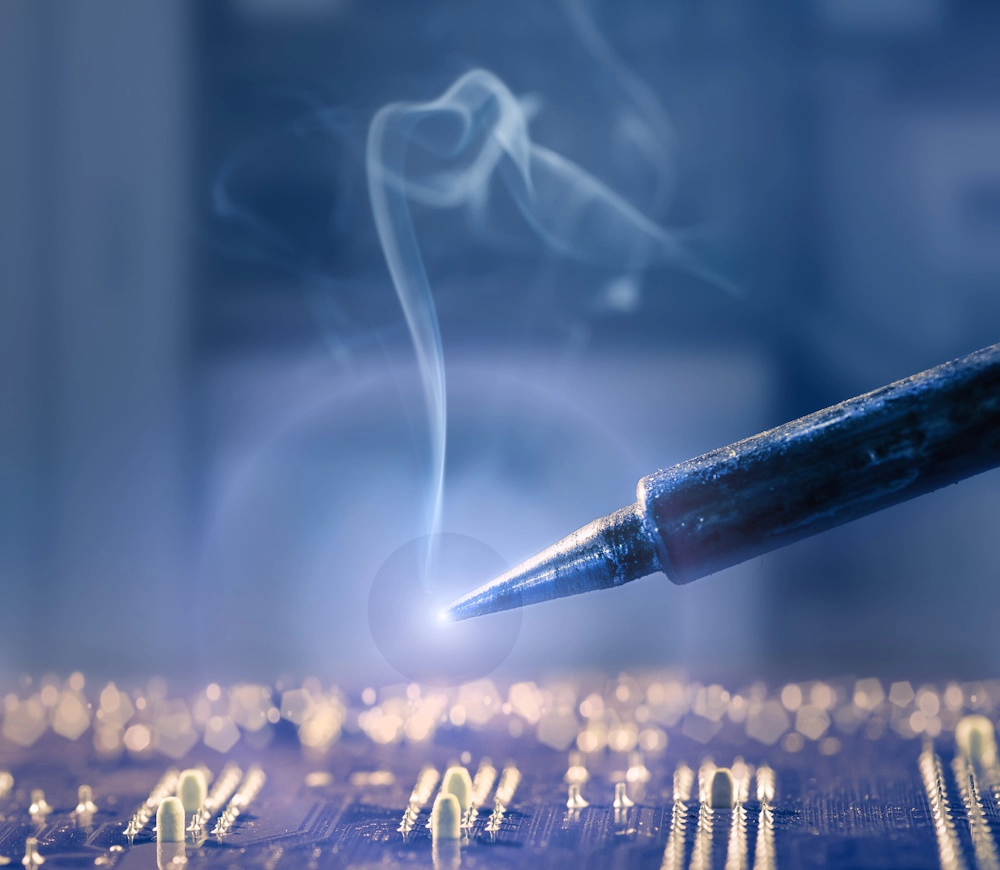
- Fume inhalation: Soldering creates smoke that contains flux fumes. Breathing these in can irritate your lungs and cause headaches over time.
- Burns: The soldering iron tip gets extremely hot—usually around 700°F. Accidentally touching it or hot solder can cause painful burns.
- Lead exposure: Traditional solder often contains lead, which is toxic if ingested or inhaled. Always wash your hands after handling solder.
Best Practices for Safety
- Work in a well-ventilated area: Open windows or use a fan to keep fresh air moving.
- Use a fume extractor: This device pulls harmful smoke away from your workspace.
- Wear safety glasses: Protect your eyes from hot solder splashes.
- Keep a clean workspace: Clutter can increase the chance of burns or accidents.
- Wash your hands regularly: Especially after handling solder wire.
Quick DIY Fume Extractor Tip
If you don’t have a commercial fume extractor, here’s a simple fix:
- Place a small USB fan near your soldering station.
- Attach a piece of activated carbon filter (like those used in aquarium filters) to the intake side.
- Position it so the fan pulls smoke away from your face.
This setup can significantly reduce fumes at a low cost while you work on your projects.
Sticking to these safety tips will help you avoid common hazards and keep your soldering sessions safe and comfortable.
Step by Step Soldering Techniques
Preparation with Cleaning and Tinning
Before you start soldering, prep is key. Clean your components and board to remove dirt, oils, or oxidization — use isopropyl alcohol and a brush for best results. Next, tin your soldering iron tip by melting a small amount of solder on it. This improves heat transfer and helps create solid joints.
Through Hole Soldering 5 Step Process
- Insert the component into the board’s holes.
- Flip the board and bend leads slightly to hold the part in place.
- Heat the joint by placing the soldering iron tip on both the lead and the pad simultaneously.
- Apply solder to the heated joint (not directly on the iron). It should flow smoothly and cover the joint.
- Remove the iron and let the joint cool naturally without moving it.
Good through hole soldering makes a shiny, smooth cone-shaped joint.
Surface Mount Soldering Basics and Drag-Soldering Tips
Surface mount components can be trickier. Use a fine tip soldering iron and flux generously. For small pins close together, drag soldering works well:
- Apply flux across all pins.
- Place solder on the iron tip.
- Gently drag the tip along the pins so solder flows between them without bridges.
If you get solder bridges, use a solder wick or desoldering braid to clean it up.
Wire to Wire Soldering Methods
When joining wires, strip about ¼ inch of insulation. Twist stranded wires tightly, then apply soldering flux. Heat the wires with your soldering iron and add solder until it flows through the strands. Let it cool before handling. For extra strength and protection, add heat shrink tubing.
Common Mistakes and Prevention Table
| Mistake | Cause | How to Avoid |
|---|---|---|
| Cold Joint | Solder or parts not heated enough | Wait for solder to flow; heat pad & lead |
| Solder Bridges | Too much solder or poor flux | Use flux; clean tip; use solder wick to fix |
| Overheating Parts | Holding iron too long | Work quickly; use a temperature-controlled soldering iron |
| Poor Tip Wetting | Dirty tip | Clean and tin tip regularly |
VastPCC Integration for Consistent Joints
Using tools like VastPCC (a smart soldering solution) can help maintain consistent temperature and solder flow, making your joints reliable, especially in busy or larger repair jobs.
Local Repair Tips
Buying quality flux pens, lead-free solder, and a good fume extractor from local hardware stores in the U.S. can really boost your work. Also, don’t rush—take your time to clean joints and double-check your connections, especially when working on electronics repair projects around town.
This straightforward approach will help you master soldering techniques, whether you’re fixing old gadgets or building new ones.
Troubleshooting and Fixes
When soldering, you might run into issues like cold joints or solder bridges that can cause your circuit to fail. Here’s how to spot and fix common problems:
Identifying Common Soldering Issues
- Cold Joint: Looks dull or cracked, causing weak electrical connections. These usually happen if your iron wasn’t hot enough or if the joint moved while cooling.
- Solder Bridge: Excess solder connects two adjacent pads or pins, causing shorts.
- Incomplete Solder: Not enough solder, leading to poor connections.
- Burned Pads or Components: Overheating can damage parts or lift pads off the board.
Desoldering Techniques
Fixing mistakes is easy with the right tools:
- Desoldering Wick: Copper braid that soaks up excess solder when heated. Great for cleaning up bridges and removing solder from pads.
- Solder Sucker (Pump): A vacuum tool that sucks molten solder away quickly, useful for clearing holes or pads.
- Hot Air Rework Station: Blows hot air to melt solder evenly, especially helpful for surface mount components.
Pro Tip on Heat Sinks
To protect sensitive parts from heat damage while soldering or desoldering, clip a small heat sink like a crocodile clip onto leads between the solder joint and the component. This helps draw heat away and prevents burns or internal damage to electronics.
Using these troubleshooting and fixing tips will keep your soldering work solid, helping your projects last longer and work better.
Applications and Next Steps
Soldering opens up a world of practical projects, whether you’re just starting out or looking to level up your skills. For beginners, simple LED circuits and sensor kits are perfect. These projects help you get comfortable with basics like soldering iron handling, working with solder wire, and making clean, solid joints.
If you’re ready for more advanced challenges, try PCB prototyping or repairing guitar pedals. These projects require a bit more precision, using techniques like surface mount soldering and temperature control, but they’re great for improving your craftsmanship and understanding of electronics repair.
Looking ahead, there are plenty of career and community opportunities. Getting certifications in electronics or attending local maker fairs can boost your skills and connect you with other soldering enthusiasts in the U.S. If you want to stay sharp or break into the field, these events and credentials can make a difference.
Ready to get started? Investing in a good starter kit that includes a soldering iron station, a variety of solder wire types, and essential accessories will set you up for success. Look for kits available at your local hardware store or online retailers with fast U.S. shipping to begin your soldering journey today.